
How to Use#
Jupyter Images#
An image is a portable configuration of a computing instance; a snapshot of a computing environment at a point in time.
If the server you are connected to has Jupyter installed you will be able to choose one of the Jupyter images after logging in to the server. Each image has a different configuration of software for a specific use case. For example, the “eo-crim” image has Python packages installed for Earth Observation while other images do not.
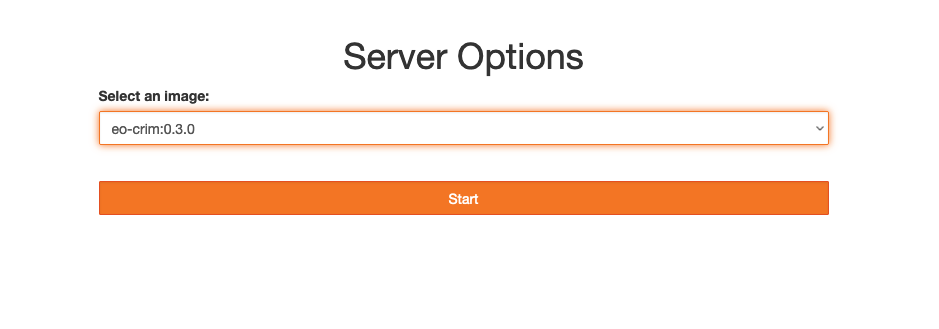
Server Selection#
Once logged in you will see a dropdown list of the images available on the particular node. What is available will differ from node to node.
Select the one you want and click Start.
Note
Each Jupyter image in this list provides a different configuration of Python packages. Some Python packages may not be installed on all Jupyter images.
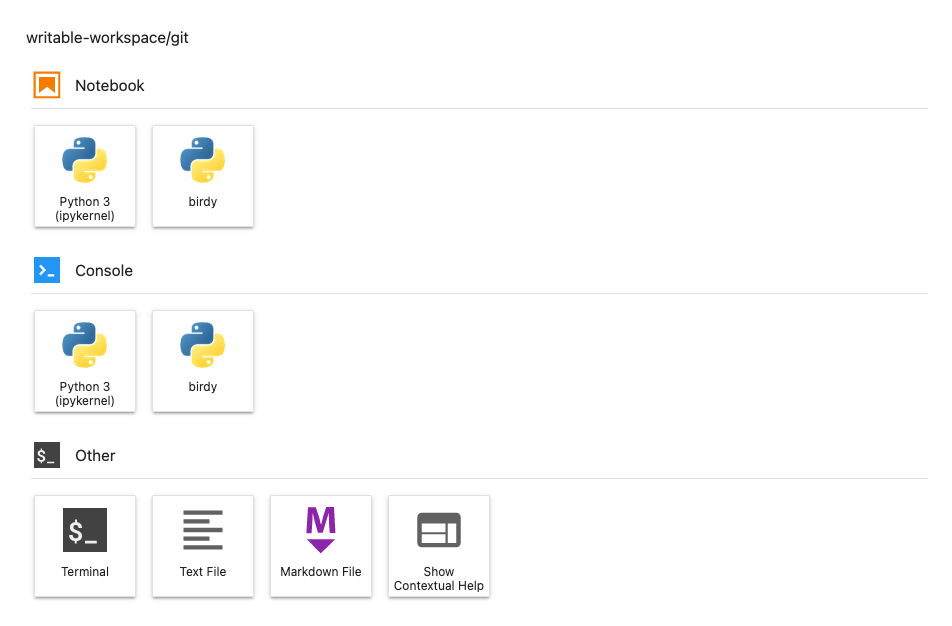
The User Interface#
The user interface of JupyterLab is divided into three general areas: the launcher, the breadcrumb menu, and the left menu.
The launcher displays icons of the different environments that can be run. These include Jupyter Notebooks and console shells.
The breadcrumb menu contains some useful shortcut buttons and displays the folder path you are browsing.

The left menu contains shortcuts and displays additional information or actions you can take.
Left Menu Icon |
Purpose |
|---|---|
|
Displays the folders accessible to you |
|
Displays the kernel (Jupyter Notebook) and terminal sessions currently open. |
|
Displays the Git actions that can be taken. (only available inside a Git repository) |
|
Displays useful commands you can run without needing to go through the top menu |
|
Lets you look inside the tags of a Jupyter notebook |
|
Displays a list of tabs currently running. Tabs can be shut down from here. |
|
Displays any third-party extensions installed |
Creating Folders#
To create a folder click the New Folder button in the shortcut bar above the breadcrumb.
This will create a new folder in the folder shown in the breadcrumb.

Upload Files#
To upload files click the Upload Files button in the shortcut bar above the breadcrumb.
The file will be uploaded to the folder shown in the breadcrumb.

Refresh File List#
If a newly created folder or recently uploaded file is not seen in the list try refreshing it by click the Refresh File List button.

Git Clone#

A shortcut for cloning a remote git repository.
Note
This button only becomes active when you are in a folder that does not contain a git repository.
Folder Types#
When you click the Folder icon you will see there are some folders already created. These are default folders in Marble that allow the user to store files and share files with other users.
Folder Name |
Purpose |
|---|---|
mypublic |
This is the user’s public folder. Files put in the |
public |
This shows the public folder of every user on the node. |
public-wps-outputs |
This folder is used to hold the results of web processing services. |
writable-workspace |
This is the user’s private workspace. |